




Repair Squeaky Floors Under Carpet: A Simple Guide
Creaky floors are not only noisy but also make your home look older. Instead of calling an expensive repairman, you can completely fix this problem yourself at home. In this article! KATAmats will share with you 5 simple tips to fix squeaky floors under carpets, making your home quieter and more comfortable.
Causes of Squeaky Floorboards
An Improperly Installed Subfloor
One of the primary culprits behind squeaky floors is an improperly installed subfloor. This foundational layer, typically made of plywood or oriented strand board (OSB), plays a critical role in providing support for the finished flooring. However, when the subfloor isn’t securely fastened to the underlying joists those sturdy wooden beams that form the backbone of your floor problems arise.The lack of a secure connection allows for movement when weight is applied during foot traffic. This movement creates friction between the subfloor and the joists, leading to that characteristic squeaking sound. Over time, the issue can worsen as the fasteners (nails or screws) loosen further.
To repair squeaky floors under carpet caused by an improperly installed subfloor, you may need to reinforce the subfloor-to-joist connection. Specialized screws designed to secure subfloors can often resolve this issue without removing the carpet.
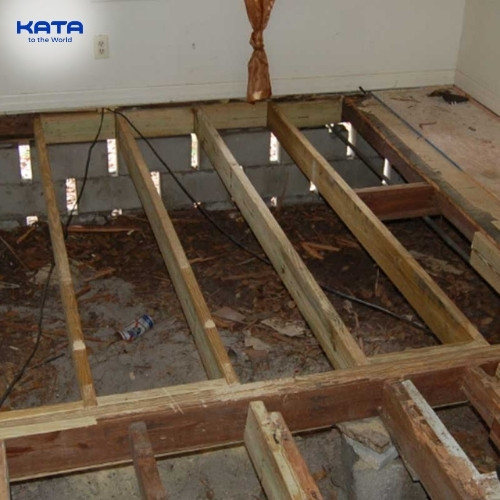
Installed Subfloor
The Weather
Believe it or not, weather conditions can significantly impact floorboard squeaking. Fluctuations in humidity levels cause wood to expand and contract. When humidity rises, wood absorbs moisture and swells; when it drops, the wood dries out and shrinks. This natural expansion and contraction can cause the wooden components of your floor such as subfloors, joists, or floorboards to rub against one another, producing irritating squeaks.This phenomenon is particularly noticeable in regions with extreme seasonal changes or consistently high humidity levels. If you live in such an area, maintaining stable indoor humidity can be a proactive way to minimize squeaking. Using a dehumidifier during humid months or a humidifier during dry winters can help keep the wood stable and reduce movement.
=>>> Read more of our new articles on matted carpet repair
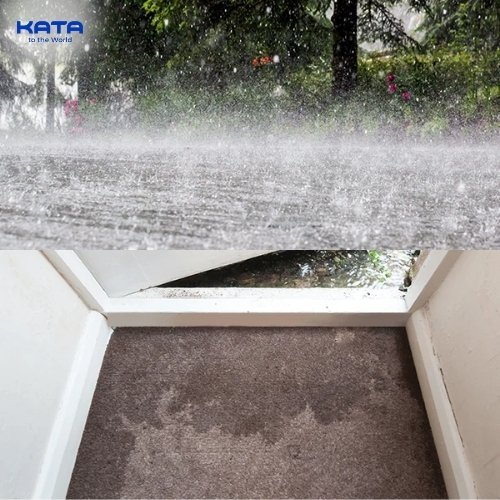
The Weather
Loose Floorboards
Loose floorboards are one of the most common causes of squeaky floors under carpet. Over time, nails and screws holding the floorboards in place can loosen due to factors such as daily foot traffic, natural settling of the house, or even minor seismic activity.When floorboards lose their stability, they move and rub against the subfloor or adjacent boards. This rubbing generates friction and results in the familiar squeaking sound.
Fortunately, loose floorboards are relatively easy to fix. By locating the squeaky area, you can reinforce the flooring with screws or specialized adhesive. If you’re dealing with carpeted floors, you can use long screws designed to penetrate the carpet without causing damage, effectively tightening the boards to eliminate the noise.
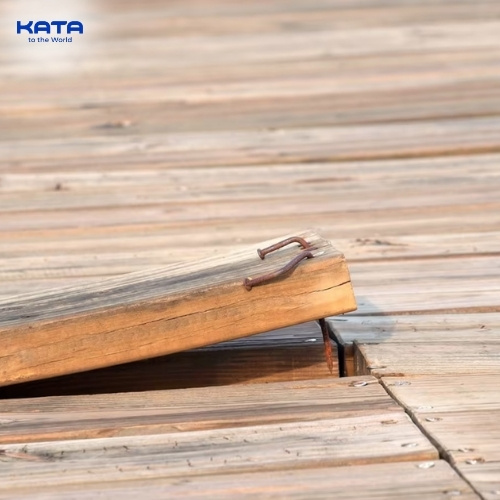
Loose Floorboards
Gaps Between Subfloor and Joists
Gaps between the subfloor and joists are another sneaky contributor to squeaky floors. These gaps create room for excessive movement, particularly in high-traffic areas. As weight is applied, the subfloor shifts and rubs against the joists, creating the telltale squeaking noise.To address this issue, you’ll need to fill the gaps between the subfloor and the joists. One popular method involves using shims small, wedge-shaped pieces of wood or composite material to fill the voids. Alternatively, you can inject construction adhesive into the gaps to create a solid connection that eliminates movement.
=>>> Click now: Can you save your water damaged carpet?
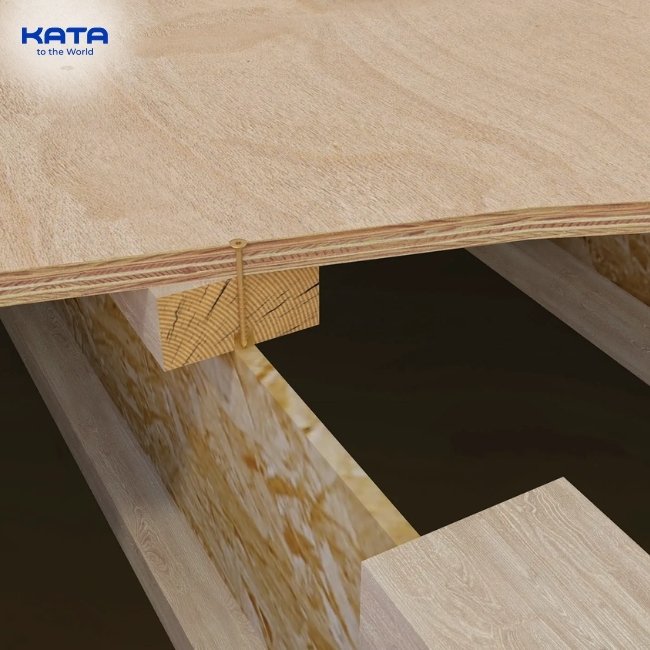
Gaps Between Subfloor and Joists
Tools and Materials Needed to Repair Squeaky Floors
To fix squeaky floors through carpeting, you’ll need the following tools and materials:- Drill/driver
- Hammer
- Joist-finding screw
- Measuring tape
- Scored screws
- Screw gripper
- String
- Tripod-shaped alignment and depth control fixture

Tools and Materials Needed
Step-by-Step Guide to Fixing Squeaky Floors Under Carpet
Locate the Floor Joists
Before you begin, it's crucial to pinpoint the exact location of the squeaky spot. Walk across the carpeted area, paying close attention to where the squeaking occurs. Once you've identified the problem area, you need to locate the floor joists supporting that section of the floor.Use a Stud Finder: A stud finder is a handy tool for detecting the presence of wood within the wall. Run the stud finder across the carpeted area to locate the joists.
Tap and Listen: Gently tap along the floor with a hammer. You should hear a more solid sound when you tap directly over a joist.
Measure from Walls: Floor joists are typically spaced 16 or 24 inches apart. Measure from the wall to estimate the joist locations.

Locate the Floor Joists
Map Out the Joist System
Once you've located a few joists, it's helpful to map out their positions. This will guide your repair efforts and prevent unnecessary holes in your carpet.Mark the Joists: Use a pencil to lightly mark the location of each joist on the carpet.
Measure and Record: Measure the distance between the joists to confirm their spacing and ensure your measurements are accurate.
Create a Simple Diagram: Draw a rough sketch of the floor area, including the locations of the marked joists. This will serve as a visual reference during the repair process.

Mark the Joists
Secure the Subfloor to the Joists
This is arguably the most critical step. Loose subfloor panels are the primary culprits behind squeaky floors.Assess the Situation: Carefully inspect the existing subfloor for any loose areas. Gently press down on the panels – any movement or give indicates a loose connection.
Choose the Right Fasteners: Use construction-grade screws designed for subfloor installation. These screws are typically longer and thicker than standard wood screws, providing superior holding power.
Secure the Edges: Focus on securing the edges of the subfloor panels to the joists. This is where most movement occurs.
Reinforce the Field: Drive screws into the field of the subfloor panels (the area between the edges) for added stability. Follow manufacturer recommendations for screw spacing.
Create a Guide System
For new subfloor installations, establishing a guide system ensures accurate panel alignment and minimizes gaps.Snap Chalk Lines: Snap chalk lines on the joists to mark the edges of the first row of subfloor panels. This provides a straight and consistent edge from which to work.
Use Spacers: Place spacers between the subfloor panels to maintain consistent expansion gaps. This prevents buckling and warping due to changes in humidity.
Check for Squareness: Use a level or framing square to ensure the subfloor panels are installed at a 90-degree angle to the joists. This is essential for a stable and even surface.
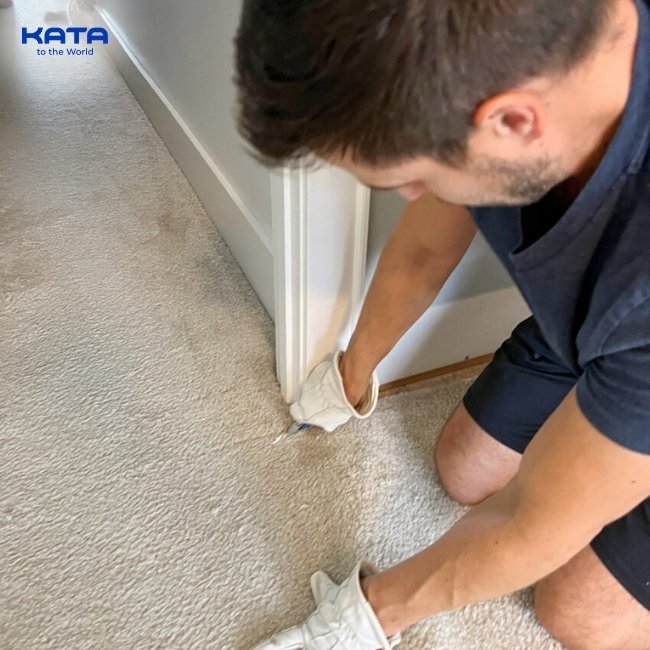
Use Spacers
Remove Screw Heads
While seemingly minor, protruding screw heads can interfere with the installation of your finished flooring.Countersink Screws: Use a countersink bit to recess the screw heads slightly below the surface of the subfloor. This creates a smooth surface for the finished flooring.
Fill Screw Holes: Fill the countersunk holes with wood filler. Allow the filler to dry completely before sanding smooth.
Sand the Entire Surface: Once the filler is dry, sand the entire subfloor surface to remove any remaining imperfections and create a smooth, level base for your finished flooring.
Other articles




COPYRIGHT 2021 © ALL RIGHT RESERVED KATAVINA


[×]
REGISTER AGENT
We will contact you as soon as possible