


2 Methods to Repair Carpet Seams: A Simple Guide by KATA
Positioning the Seam
Seaming carpets might seem daunting at first, but following the right steps ensures a professional finish. Creating a seamless connection between two pieces of carpet requires precision, patience, and the right tools. Here’s a detailed guide to positioning and securing carpet seams effectively, whether you’re applying seam adhesive or using a seam iron.
Step 1: Position the Carpet Well
Begin by laying out the first piece of carpet in its intended location. This step is critical for ensuring that the final look complements the room's layout and aesthetics. Take into account doorways, furniture placement, and overall room design. For larger rooms, work section by section, starting from one end and progressing to the other. Check that the carpet piece lies flat with no wrinkles or uneven areas, as these can cause issues during the seaming process.
Step 2: Overlap the Two Pieces
Carefully position the second carpet piece so it slightly overlaps the first. The overlap ensures there’s enough material to create a clean, even seam. The amount of overlap may vary depending on the carpet type and seaming method. For instance, thicker carpets may require a wider overlap to ensure precision during trimming. Be sure to refer to the manufacturer’s instructions for specific recommendations tailored to your carpet.
Step 3: Mark the Top Trim Line
Using a chalk line or a straight edge and pencil, mark a clear, straight line across the overlapping pieces. This line serves as your trimming guide and is crucial for achieving an even seam. Double-check that the line is straight and properly aligned with the room’s layout. Any misalignment at this stage could lead to noticeable imperfections in the final result.
=>>> Read more articles: Eliminate Squeaky Floors Under Your Carpeting
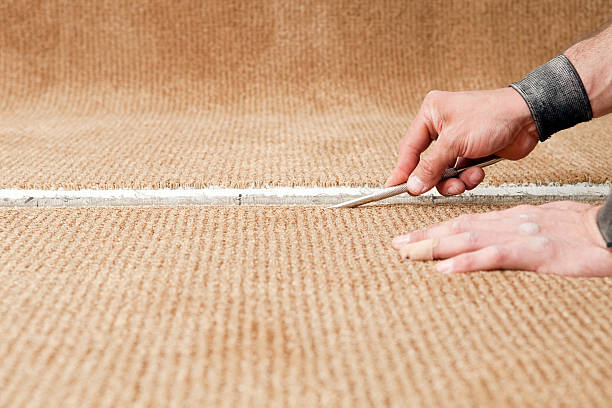
Mark the top trim line
Step 4: Trim the Top Piece
Using a sharp utility knife or an electric carpet cutter, carefully cut along the marked line on the top piece of carpet. A steady hand is essential here to ensure a clean, straight cut. If you’re new to this process, practice on scrap pieces of carpet to build confidence and accuracy. Uneven cuts can lead to gaps or overlaps at the seam, detracting from the overall look.
Step 5: Trim the Bottom Piece
After trimming the top piece, lift it slightly and trim the bottom piece along the same marked line. This ensures that both pieces are cut at exactly the same level, creating a perfect fit. Use the same tool and technique as for the top piece to maintain consistency.
Step 6: Mark the Seam Location
Once both pieces are trimmed, use a marker or chalk to mark the seam location on both pieces. This step helps align the edges accurately during the seaming process. Proper alignment is critical for creating an invisible seam that blends seamlessly into the carpet.
=>>> Read now:
The 5 Best Methods for Matted Carpet Repair
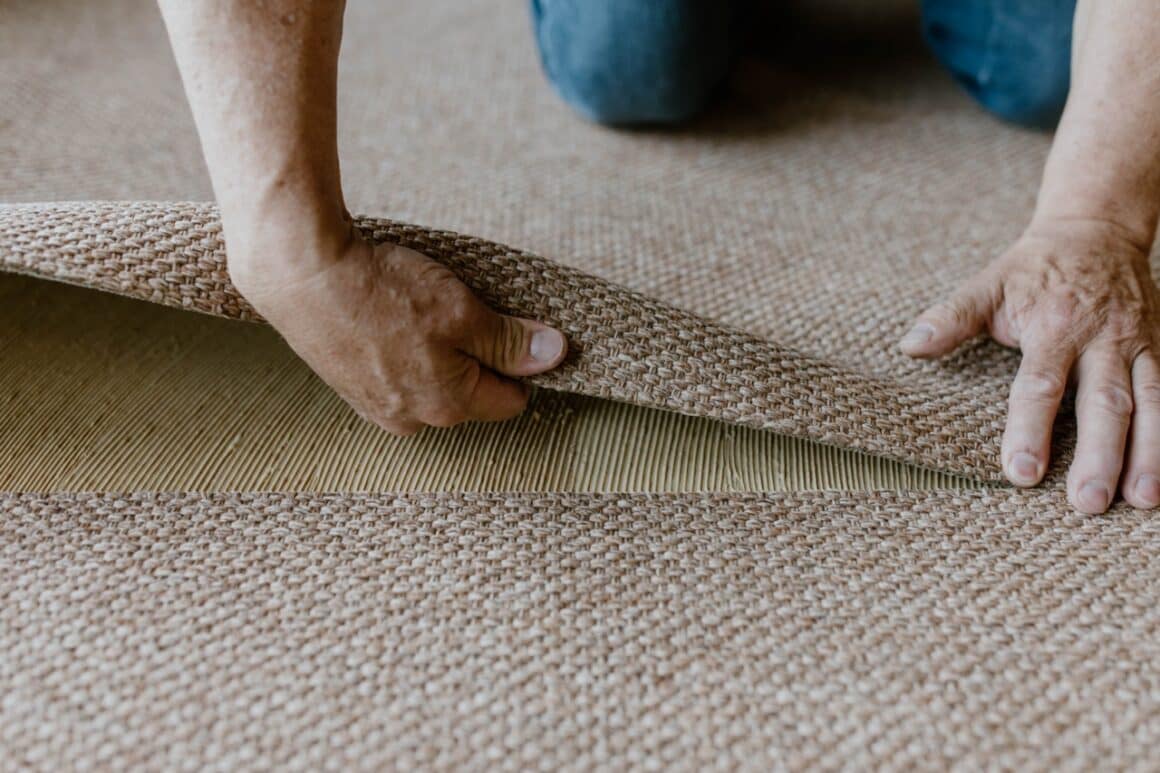
Positioning the seam
Method 1 - Applying Seam Adhesive
Using seam adhesive is a common and effective method for securing carpet seams. This approach provides a strong bond and is suitable for most residential carpet types.
Step 1: Prepare the Seam Area
Before applying adhesive, clean the seam area thoroughly. Vacuum to remove any debris, loose fibers, or dirt that could interfere with the adhesive’s effectiveness. A clean surface ensures a stronger bond and a smoother finish.
Next, apply double-sided carpet tape along the length of the seam. This tape acts as a temporary adhesive, holding the carpet in place while the seam adhesive dries. It also provides extra holding power for a more durable result.
Step 2: Position and Press
Carefully align the two carpet pieces, ensuring they fit snugly together with no gaps or overlaps. Press down firmly along the seam to activate the double-sided tape. This step helps secure the carpet in place, making the application of adhesive easier and more precise.
Step 3: Apply the Adhesive
Choose a seam adhesive designed for your specific carpet type. Water-based adhesives are typically recommended for residential carpets as they are easy to work with and dry quickly.
Using a caulking gun or brush, apply a thin, even bead of adhesive along the seam. Press the carpet pieces together firmly, ensuring the adhesive is evenly distributed. Use a roller or your hands to smooth out any air bubbles or wrinkles.
Finally, place heavy objects like books or sandbags along the seam to apply pressure while the adhesive dries. Follow the manufacturer’s instructions regarding drying time, which usually ranges from a few hours to overnight.
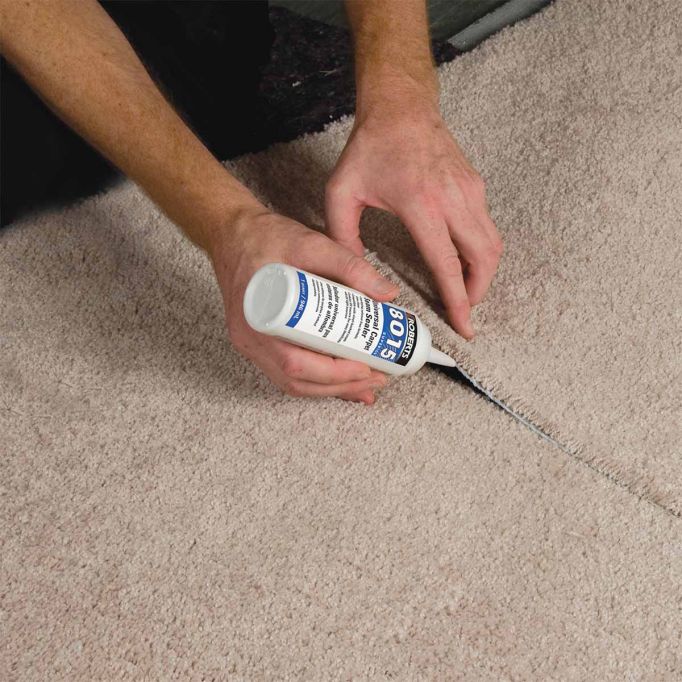
Applying seam adhesive
Method 2 - Using a Seam Iron
For a professional-grade finish, a seam iron is an excellent tool. This method involves using heat to melt special seam tape, creating a strong and durable bond.

Using a seam iron
Step 1: Align the Carpet Pieces
Begin by aligning the two carpet pieces as described earlier. Use seam tape to temporarily hold the edges together. Double-check that the edges are flush, as proper alignment is essential for a clean, professional-looking seam.
Step 2: Heat the Seam
Place the seam iron over the seam, ensuring it’s positioned correctly. Seam irons have a groove or channel that guides them along the seam, providing even heat distribution. Slowly move the iron along the length of the seam, applying gentle pressure to ensure the adhesive tape melts evenly.
Step 3: Secure the Seam
As the adhesive tape melts, press the carpet edges firmly together to create a strong bond. Smooth out any wrinkles or air bubbles using a roller or your hands. Allow the adhesive to cool and set before moving on to the next step.
Step 4: Trim and Seal
Once the adhesive has cooled, carefully trim any excess adhesive that may have seeped out. Use a sharp utility knife or carpet trimming scissors for a clean finish. To enhance the seam’s appearance, consider applying a seam sealer. Seam sealers are available in various colors to match your carpet, helping to camouflage the seam and make it virtually invisible.
Other articles