




How To Remove Carpet From Stairs: Everything You Need To Know
If you’ve ever looked at your staircase and thought, “This carpet has seen better days,” you’re not the only one. Over the years, I’ve tackled stair carpet removal more times than I can remember — whether it’s from years of foot traffic, unsightly stains, or just wanting a fresh new style. In this guide, I’ll show you exactly how to remove carpet from stairs, step by step, using the same techniques I’ve used on dozens of real projects. This isn’t theory — it’s a hands-on walkthrough built on personal experience, practical tips, and lessons learned the hard way.
Evaluate The Stairs Before Removing The Carpet
Before diving in with tools, I take a few moments to carefully inspect the stairs. It’s important to identify what kind of material lies beneath the carpet — whether it’s solid hardwood, plywood, or basic particleboard. That one detail can make all the difference in how cautiously I need to proceed and what kind of prep work or repairs might be waiting for me once the carpet’s up.I also pay close attention to how the carpet is fastened — whether it’s held down with tack strips, buried under a forest of staples, or glued on tight. Each of those requires a slightly different strategy, and knowing what I’m dealing with upfront helps avoid surprises.

Assess stairs before removing carpet
Preparation Before You Begin
Gather The Necessary Tools And Materials
You don’t need a full-blown workshop, but having the right tools on hand makes a world of difference. Here’s what I always grab before I get started:- A sharp utility knife
- Pry bar or flathead screwdriver
- Locking pliers
- Hammer or staple remover
- Dust mask and safety goggles
- Heavy-duty work gloves
- Knee pads (a must-have!)
- Contractor-grade trash bags
- Shop vac or strong vacuum
- Drop cloths or plastic sheeting

Tools for removing carpet from stairs
Prepare The Work Area
Staircase carpet removal is a dusty, messy business. I like to prep by removing any nearby decor, covering furniture with plastic, and laying down drop cloths to catch debris. If your stairs are centrally located in your home, consider sealing off nearby rooms with plastic sheeting to prevent dust migration.=>>> Recommendations for articles: How to protect carpeted stairs
Safety Precautions
Never underestimate the risks of tearing up carpet on stairs — sharp staples, splinters, stubborn adhesives, and airborne debris are all hazards. I always suit up with gloves, goggles, and a dust mask, and I make sure my workspace is well-lit and a first-aid kit is within reach before beginning.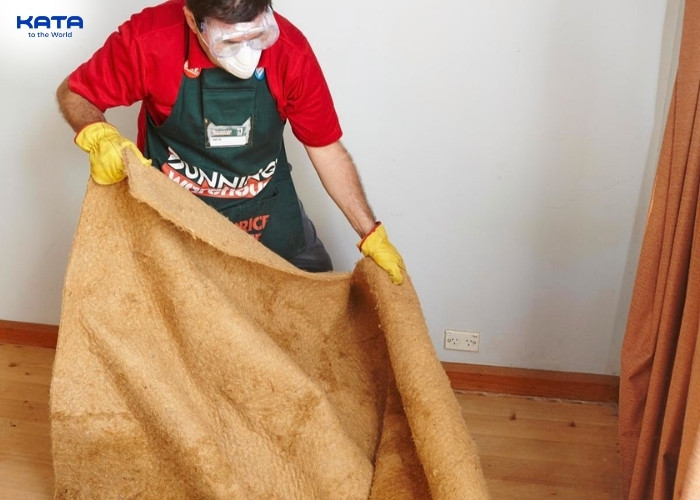
Safety precautions
Step-By-Step Guide To Remove Carpet From The Stairs
Step 1: Where To Start? (Usually From The Top Down)
I always begin at the top of the staircase and work my way down, and there's a good reason for that. Starting from the top ensures I’m never in a precarious position — like standing on a slick, bare wood step while trying to pry up the carpet below me. That could easily lead to a slip or injury. By progressing downward, I maintain a stable, carpeted footing as I go, which is not only safer but also more methodical. It helps me stay organized, keeps debris from piling on areas I still need to work on, and gives me a clean, consistent workflow from start to finish.
Remove from top of stairs and down
Step 2: Cut The Carpet Into Smaller Strips
Using my utility knife with a fresh blade, I carefully slice the carpet into manageable strips about 12 to 18 inches wide. This size is ideal because it’s easy to lift, roll, and bag without straining your back or making a mess. I’ve found that smaller strips give me better control when pulling and reduce the risk of damaging the surface below. I always make sure to change the blade regularly — working with a dull knife not only slows me down but also increases the chances of slipping or cutting myself. Precision and safety are paramount in this step.Step 3: Detach The Carpet From The Stairs
Starting in a corner of the tread, I wedge the pry bar underneath the edge of the carpet and carefully leverage it up, using my pliers to grip and pull it free from any tack strips or embedded staples. Often, the carpet clings stubbornly, especially if it’s been compressed underfoot for years or exposed to humidity. In those cases, I brace myself, apply steady force, and sometimes even rock the carpet back and forth to ease it off. For sections where glue was used, I don’t rush. I slide a floor scraper under the material and work it slowly across the step, applying even pressure so I don’t gouge the wood underneath. Some areas come up easily, but others fight back — and patience is key.
Remove carpet from stairs
Step 4: Remove The Carpet Padding (Underlayment - If Present)
Padding is usually either stapled down in a grid-like pattern or glued directly to the stair treads. I work in small sections, gently tugging up the padding with my hands first to see how loose it is. When I hit a more stubborn section, I switch to my floor scraper or putty knife, working slowly to get underneath the material without damaging the wood underneath. In areas where the padding crumbles or tears easily, I find it's helpful to wet it slightly with a damp cloth to soften the adhesive before scraping. Throughout the process, I stay mindful of preserving the wood — especially if I plan to sand or stain it later on. One wrong gouge can be frustrating to fix, so slow and steady wins here.Step 5: Remove Adhesive (If Any)
When I come across stubborn glue on the stair treads, I don’t attack it with brute force. Instead, I use a citrus-based adhesive remover, which I generously apply over the glue. I let it sit undisturbed for 10 to 15 minutes, giving it time to break down the adhesive gently, without risking any damage to the wood underneath.Once it softens, I carefully scrape it off with a wide-blade scraper, always moving with the wood grain to avoid scratches. For corners or tricky angles, I swap to a plastic putty knife for precision and safety. Afterward, I give the tread a light sanding, which smooths out the surface and prepares it for whatever comes next — whether that’s a new carpet, a fresh coat of paint, or a wood finish.
=>>> Recommendations for articles: How much is carpet for stairs
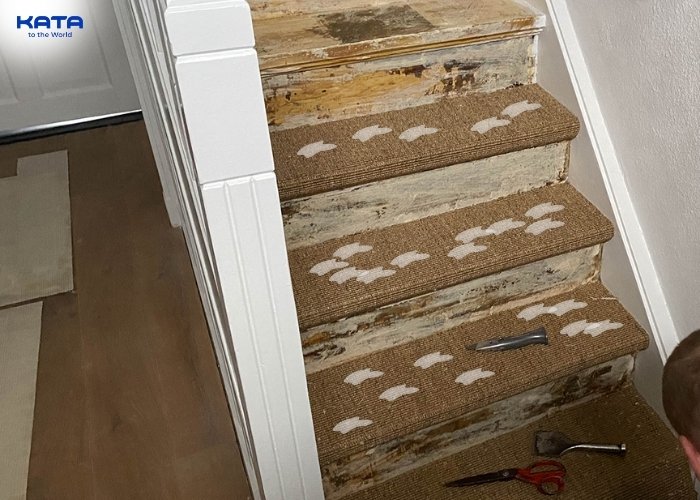
Remove adhesive
Step 6: Remove Any Remaining Staples And Tacks
This part is tedious but essential. I methodically go over each tread and riser with a pair of pliers or a staple remover, pulling out every last staple, tack, or nail that might be lurking. It’s slow work, but skipping this step could lead to injury later. Once I’m done, I follow up with a magnet sweep and a thorough vacuum to catch any stray metal pieces hiding in the dust.After Removing The Carpet From The Stairs
Clean The StairsOnce all the carpet and padding are removed, I take the time to give each stair a thorough cleaning. First, I go over the entire staircase with a strong vacuum to pick up dust, debris, and any fine particles that may have settled during removal. Then I use a damp microfiber cloth or mop to wipe down each step, paying special attention to the corners and edges where dust tends to accumulate. This not only gives me a clean surface to work with but also helps highlight any imperfections or damage that needs attention.
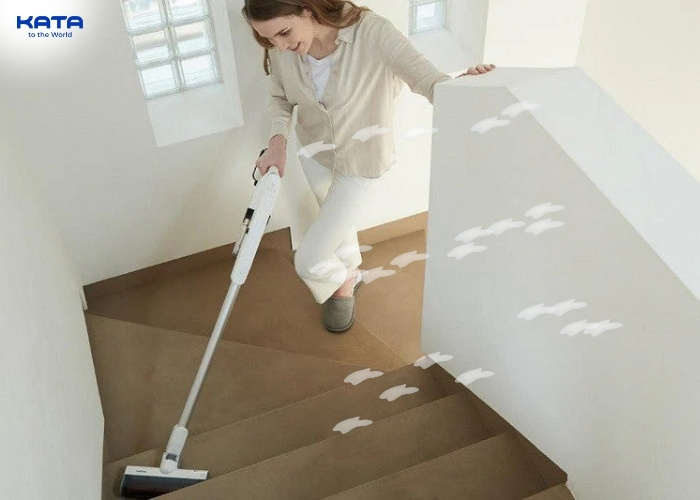
Clean the stairs
Inspect And Repair (If Necessary)
After cleaning, I closely examine the structure of each stair. I look for things like loose boards, cracked treads, squeaky risers, or nail pops. When I find minor issues like shallow cracks or squeaks, I usually fix them with wood filler, construction adhesive, or screws. For anything more serious — such as deep splits or signs of rot — I document the problem and, depending on the severity, bring in a professional contractor. Catching these problems early saves a lot of headaches down the line, especially if I plan to refinish or recarpet the stairs.
Dispose Of The Old Carpet
Disposing of the old carpet is a job in itself. I always check my local waste disposal guidelines, since not all municipalities handle bulky carpet waste the same way. In some areas, curbside pickup is an option if the carpet is properly bagged and labeled. In others, I have to take the materials to a designated facility. I cut the carpet and padding into smaller rolls, placed them in heavy-duty contractor bags, and labeled them for disposal. If the carpet is made from recyclable material like nylon or polypropylene, I contact local recycling centers to see if they accept it. Responsible disposal is just as important as proper removal.
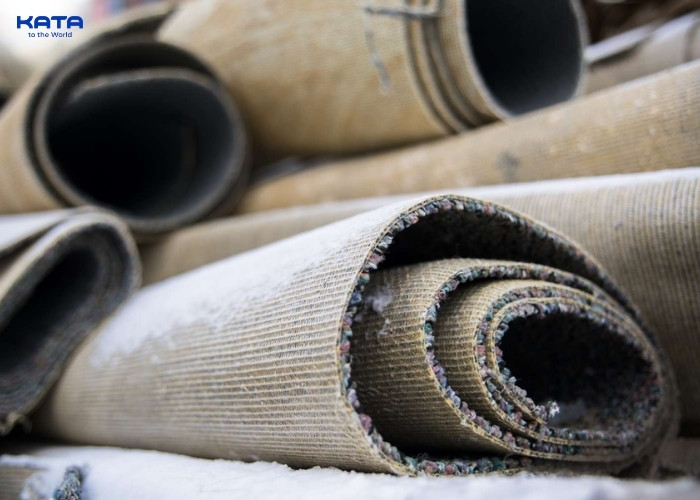
Dispose of the old carpet
Key Tips And Notes For Removing Carpet From Stairs
- Change your utility knife blade often — a sharp blade is safer and more efficient.
- If you’re planning to re-carpet, you can leave tack strips in place if they’re in good shape.
- Use old carpet strips as templates for new carpets if you’re replacing them.
- Keep a broom and vacuum nearby — you’ll be cleaning up constantly.
- Stay hydrated and take breaks — removing the stair carpet is physically demanding.
Specific Considerations For Various Types Of Stairs
Over the years, I’ve removed carpet from all kinds of staircases, and each type has its quirks:- Hardwood Stairs: I tread carefully here. These are often worth preserving or refinishing, so I avoid harsh tools and minimize sanding.
- Plywood Stairs: Typically hidden under carpet and ideal for paint, laminate, or new carpet. Not the prettiest, but functional.
- Concrete Stairs: These require more aggressive methods. I’ve used chisels, adhesive removers, and even grinders when necessary.
- Open Stairs vs. Enclosed: Open stairs mean you’ll be dealing with extra edges and sides, which adds time and effort. Enclosed stairs are more straightforward.

Considerations for different types of stairs
Diy Or Professional Stair Carpet Removal Service?
So, is this a DIY project or one better left to the pros? Honestly, I’ve done both. If you’re comfortable with tools and don’t mind getting your hands dirty, removing carpet from stairs is doable on your own.However, here are a few times I’ve called in a pro:
- When the carpet is glued down extensively
- If there’s suspicion of asbestos (older adhesives or padding)
- If I’m too tight on time
Other articles



COPYRIGHT 2021 © ALL RIGHT RESERVED KATAVINA


[×]
REGISTER AGENT
We will contact you as soon as possible